
Abaqus is a very powerful and versatile software for the simulation of many different physical phenomena. However, the amount of functionalities is not infinite, e.g. the number of constitutive models (materials) available is limited. The huge versatility in Abaqus comes from the application of user subroutines written in Fortran.
In this article, you will learn how to install and setup a free Fortran compiler for Abaqus, and finally we will see an Abaqus FE model including a subroutine that you can download.
1. Steps to start using Fortran subroutines in Abaqus
The steps that we have to follow, starting with Abaqus installed, are the following:
- Download and install Visual Studio.
- Download and install Intel OneAPI Base Toolkit and Intel OneAPI HPC Toolkit.
- Modify the Abaqus launcher (abaqus.bat).
- Edit the Abaqus environment file (abaqus_v6.env).
And you’ll be ready to run your subroutines in Abaqus!
Watch out!
Abaqus Learning Edition is not compatible with the use of subroutines.
1.1. Install Visual Studio
Download and install Visual Studio (VS). Visual Studio Community Editions are free to use under the terms of the License agreement.
If you are using Abaqus 2020 or Abaqus 2021, you can install either VS 2017 or VS 2019. However, for Abaqus 2022, 2023, 2024 and 2025 you will need the latest release: VS 2022.
To download older VS versions click here.
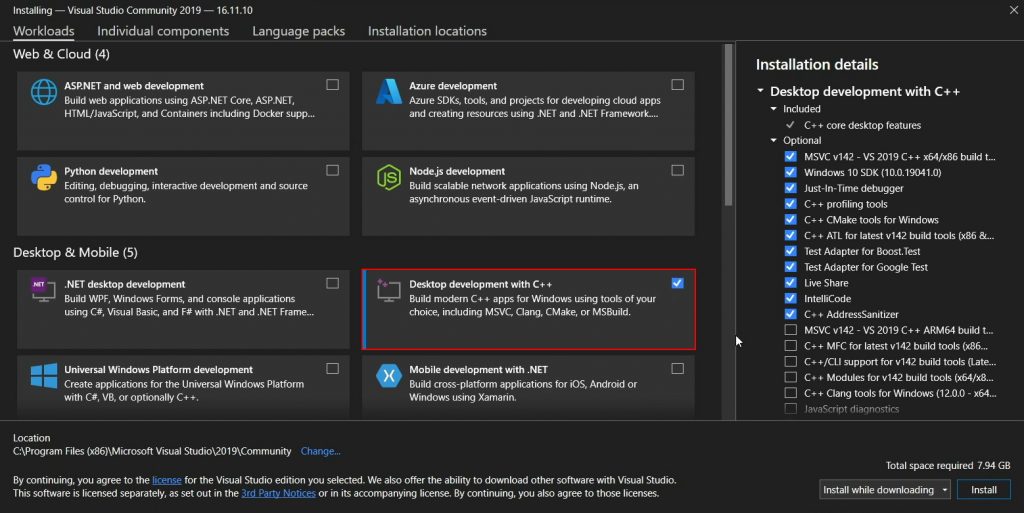
Start by downloading and executing the “Visual Studio Installer”. After the initial setup, the only workload that we need to install is: “Desktop development with C++”.
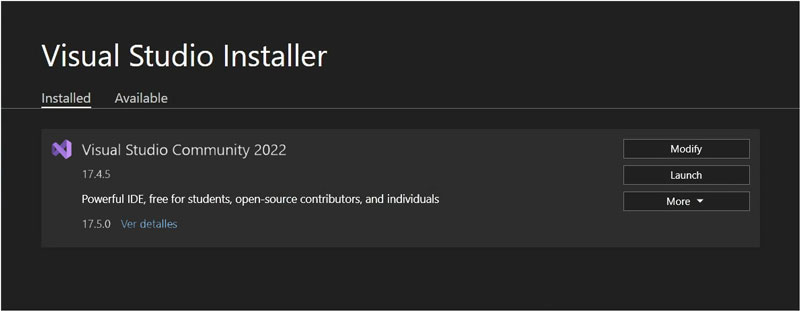
When the installation process is completed you will see the following:
After installing Visual Studio, I highly recommend to reboot your PC.
1.2. Install Intel OneAPI Base and HPC Toolkits
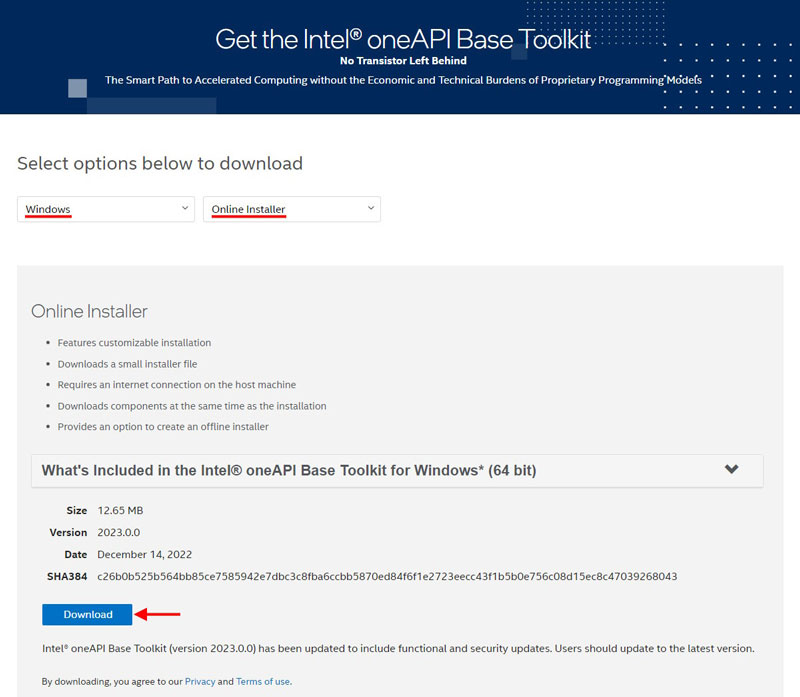
Registration is not required by selecting “Continue as a guest” to start the download process.

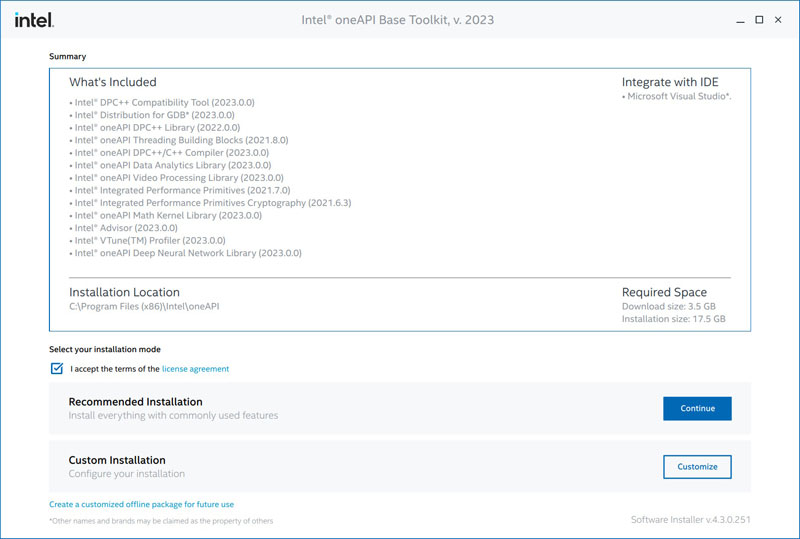
Then, read and accept the terms of the License agreement and continue with “Recommended installation”.
If you get a warning after this step regarding the GPU drivers, just ignore it, and click on the arrow pointing to the right. Let’s move on!
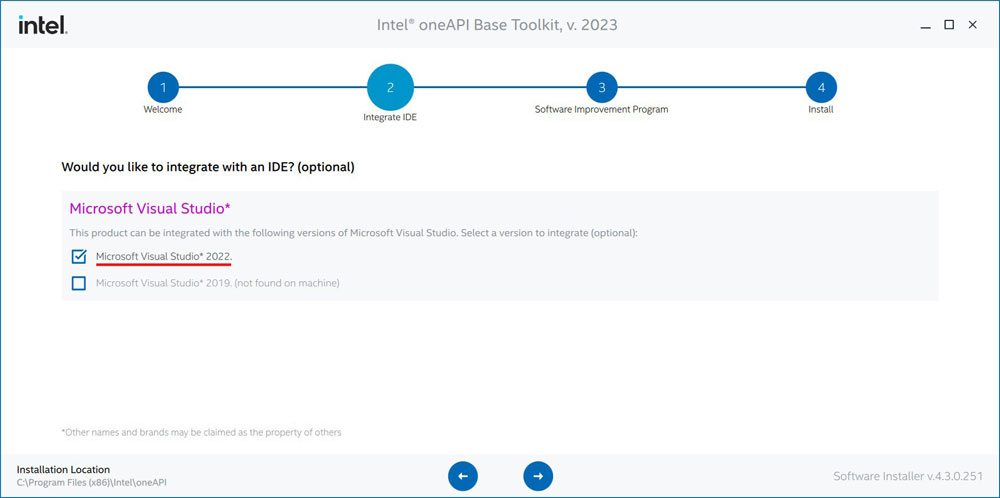
Select the version of VS previously installed, e.g. VS 2022 for Abaqus 2023.
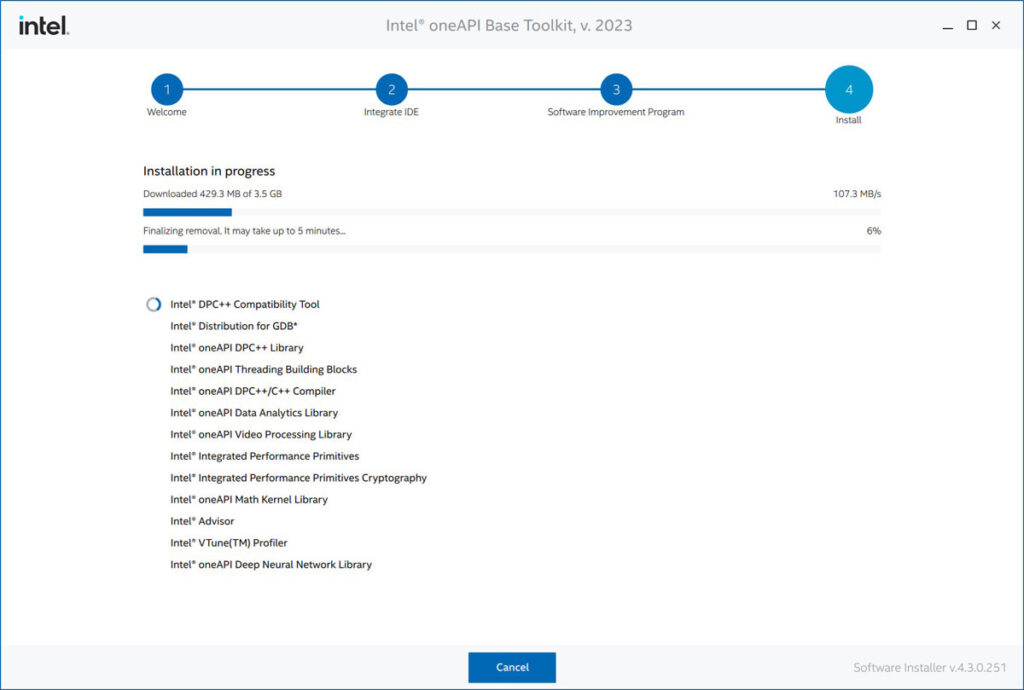
Afterwards comes the Software improvement collection, as in all these packages, you may consent it or not. And finally, the installation process begins…
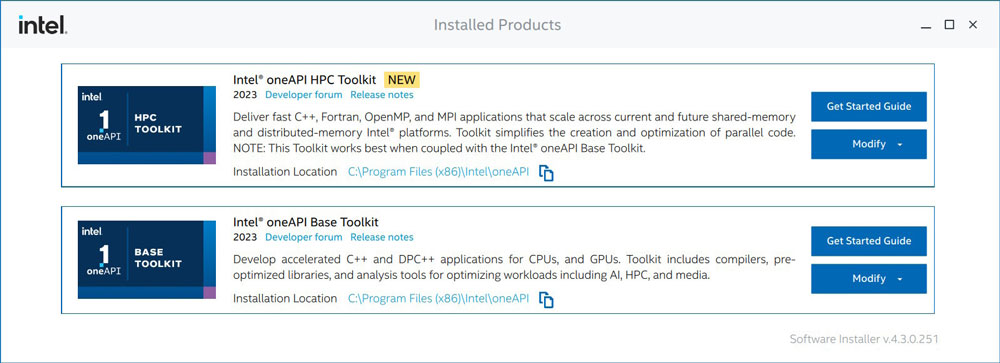
Follow the same procedure to download and install the Intel OneAPI HPC Toolkit.
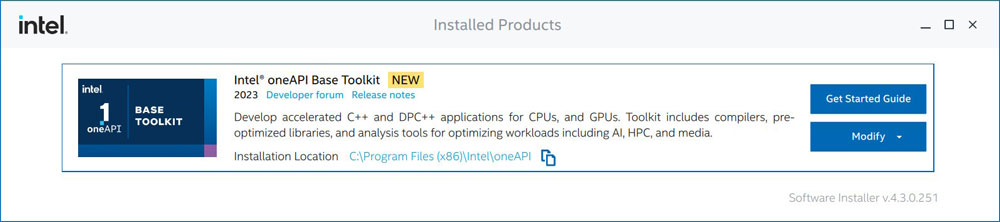
At the end, you will see both products (Base and HPC toolkits) installed.
1.3. Modify the Abaqus launcher file (.bat)
First, we need to locate the file that launches Abaqus from the command line. In most cases it will be “abaqus.bat“, but depending on the Abaqus version or if we have multiple versions installed it could be “abq2021.bat”, “abq2023.bat”, etc. This file is located at “C:\SIMULIA\Commands“.
From the Abaqus launcher file we have to call the “vars.bat” file passing two arguments: intel64 and vs2022 (depending on the VS version). The vars.bat file is found at “C:\Program Files (x86)\Intel\oneAPI\compiler\latest\env“.
In the end, the bat file (e.g. “abq2023.bat”) may look like the snippet below. The new line (#5) is responsible for making the Fortran compiler available from Abaqus.
- .bat
					@echo off
setlocal

:: Comment: include Fortran compiler
call "C:\Program Files (x86)\Intel\oneAPI\compiler\latest\env\vars.bat" intel64 vs2022

:: Comment: Commands already in the bat file
set ABA_DRIVERNAME=%~nx0
"C:\SIMULIA\EstProducts\2023\win_b64\code\bin\SMALauncher.exe" %*
endlocal
Note: comments start with :: in batch files.
1.4. Modify the Abaqus environment file (.env)
To make Fortran subroutines fully compatible with the Intel OneAPI compiler, it is necessary to modify the environment file of Abaqus: ‘abaqus_v6.env‘. This file is executed when Abaqus is started. Look for this file in the Abaqus installation directory. In my case, it is located at: “C:\SIMULIA\EstProducts\2023\win_b64\SMA\site“
- Python
					# Run subroutines (compatible with previous compilers)
compile_fortran.append("/names:lowercase")
In some cases, the compiler will do its job, but the simulation will fail after linking the subroutines. If that happens, there is a problem in the linking process that is solved by adding the following line at the end of the abaqus_v6.env file:
- Python
					# Overwrite linking options
link_sl = 'LINK /NODEFAULTLIB:LIBCMT.LIB /dll /def:%E /out:%U %F %A %L %B'
1.5. Update the compiler call to ifx
If you have installed the Intel OneAPI compiler 2025 or more recent, you must update the environment file: win86_64.env. In the Python list ‘compile_fortran‘, replace the first string “ifort” for “ifx“. It will look like this:
- Python
					# Replace "ifort" with "ifx"
compile_fortran = [#"ifort",
                   'ifx',
                   ...]
2. Verification
Before getting started testing our own subroutines, it is a good practice to verify that the compiler and linker work properly using Abaqus verification tests.
For that, in the command line we have to execute the following statements:
- cmd
					>> abaqus verify -user_std

>> abaqus verify -user_exp
If everything was installed correctly, you will see a “result: PASS” message at the end of both executions.
3. Ready to run subroutines!
Finally, everything is ready! Download the following files and place them in the same directory to test that everything works:
Then, run the following in the command line (cmd). Make sure that you execute it in the directory where you saved the previous files (inp and for):
- cmd
>> abaqus int user=loadControl.for job=cmm_loadControl
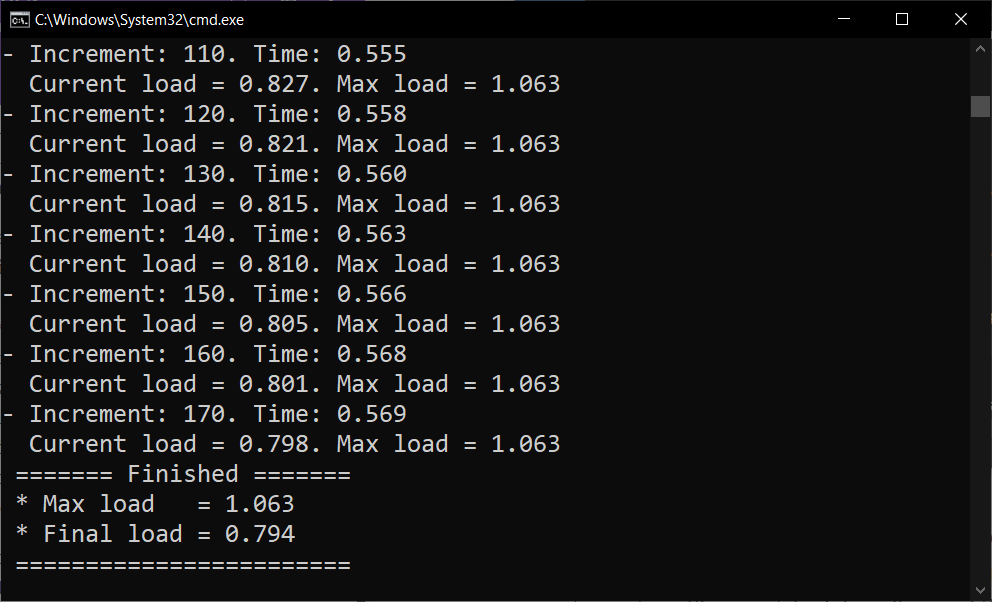
The model represents a 2D unit cell of a unidirectional fiber reinforced composite under transverse tension using isostrain boundary conditions (uniform displacement applied). The model includes cohesive zones to capture fiber-matrix debonding and the matrix takes plastic deformation and damage as well, therefore a load drop is expected after some transverse deformation.

The subroutine employed (loadControl.for) will stop the analysis when the force applied decreases (below 80% of the peak load):
- The analysis is sped up by skipping the most unstable part of the simulation, which is not of interest in this case.
- Current and maximum load applied are printed out every 10 increments.
3. Conclusions
Setting up the compiler to run subroutines in Abaqus has always been a bit of a headache, but the release of the Intel OneAPI toolkits makes a lot easier this process and does not involve additional costs.
Learn how to implement this and many more subroutines in the course User Subroutines in Abaqus. From advanced boundary conditions, custom output variables or heat transfer analysis, up to material subroutines, user elements and a lot more!
Happy modeling and see you soon!
