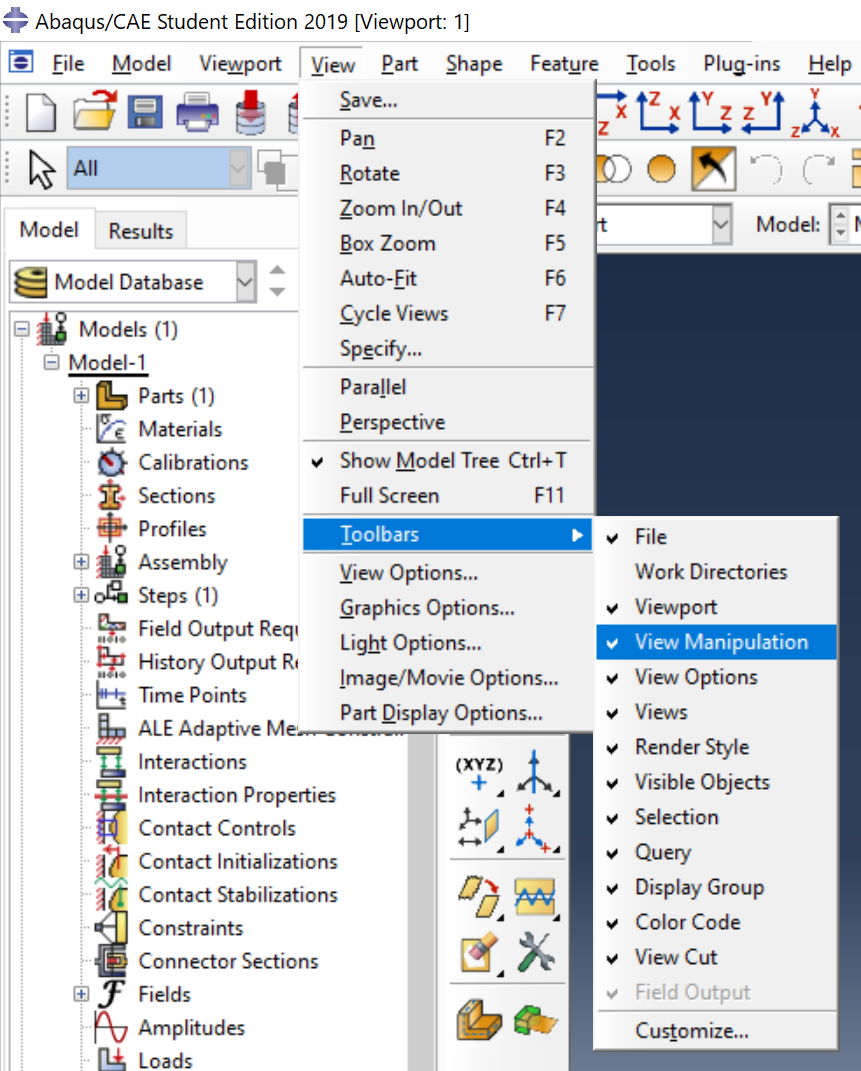
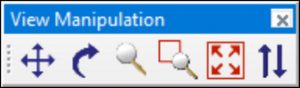

Pan (F2)

Rotate (F3)

Zoom (F4)

Box zoom (F5)

Auto-fit (F6)

Previous views (F7)
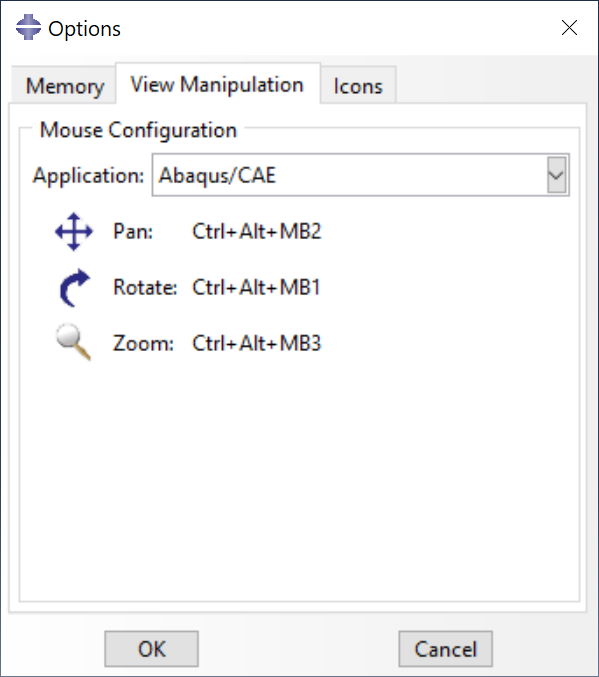
Pan view
Hold middle mouse button while panning
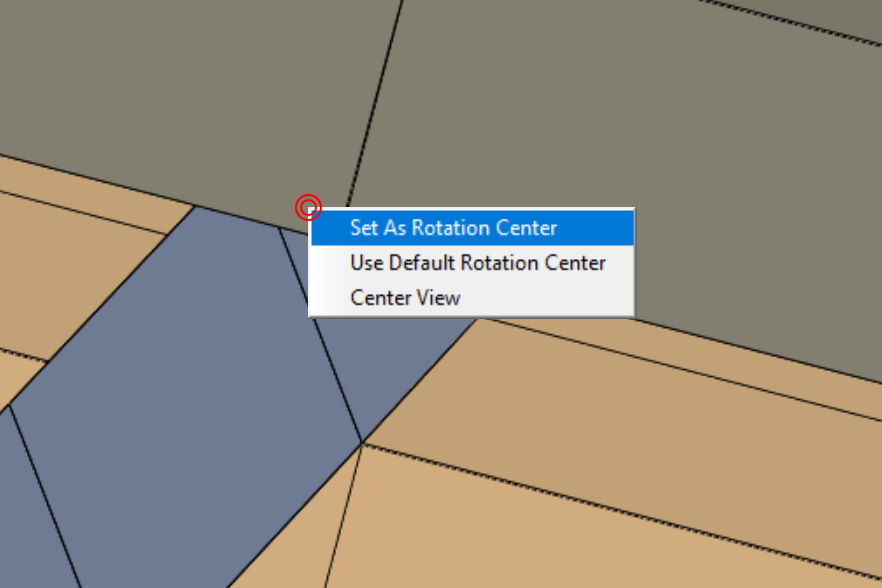
Rotate view
Hold middle mouse button and (without releasing it) press the left mouse button and move it in the direction you want to rotate
Zoom
Scroll with the mouse wheel to zoom out (forward) and zoom in (backwards)